Sunday, December 5, 2010

The rest of Mom's cards

The last 3 styles of cards for Mom

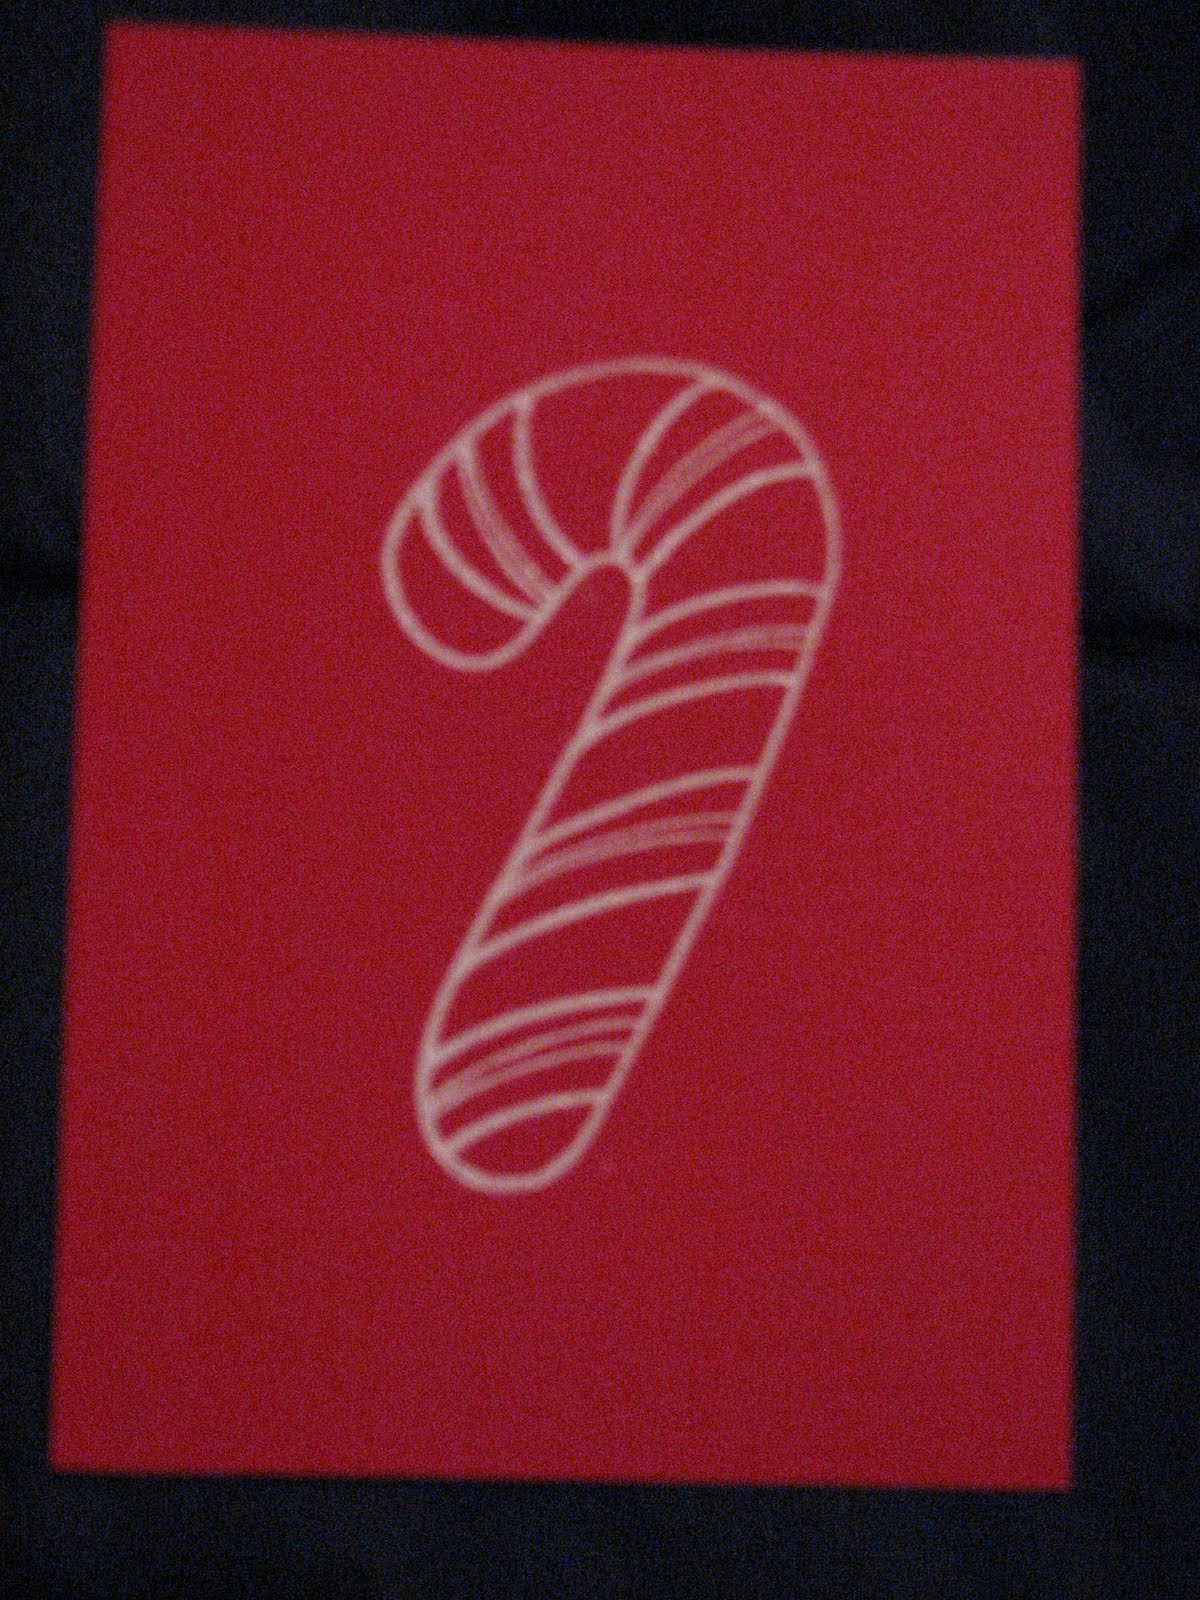
This was a very simple card - I like the red & white contrast.
Gina K red paper - it is very vibrant. I'm not a big stamper. I thought it was because I couldn't get the hang of it and it's messy. But the more I read and try, and use better quality inks and stamps the more I keep coming back to try my hand again. I stamped the candy cane and completed it with white embossing powder.


I used SCAL to cut this image. Mounted on blue cardstock. I added a two stars and gold stickled the top one.


Light blue Core'dinations cardstock ran through the Cuttlebug snowflake embossing folder and sanded. I cut the blue-grey scalloped circle out with a nestie. I colored the image with Copics and added a little Stickles.

Christmas pots

I decided that I was not going to spend more than $5 on my winter pots this year. All of the greens are from our yard and neighbors. The red twig sticks are such a great accompaniment to the displays. My grand total is $3.23! for the bows on the window boxes. I made them up as the temperature was dropping so I added water and within a few hours they had frozen.

The best part about them freezing is I don't go back to adjust and rearrange the sprigs, because once they're in, they are in. Yes you can change them, but that involves a lot more work. So I say que sera, sera


Nativity Blocks


Thank you Cheri. Your post about the Nativity blocks was so inspiring, that I made my own. I used the link Cheri offered for images - mostly because I wanted the blocks to be finished before the kids left this weekend. They both really liked them - Rileigh was under the weather this weekend so she didn't play with them, but Maddox couldn't wait for the Mod Podge to try so he could set them up.

Thanks Cheri for helping to bring a little extra CHRISTmas to my house this year!


First try at Subway art

I know Subway art is a new craze, and I have been wanting to try it. So instead of working on Christmas presents or vacuuming - I cut out some festive words with SCAL on some different colors of vinyl.

I picked up the piece of wood at HL for $2.99 (with a 40% off coupon) and painted it Evergreen. After it dried, I added my words.

The next morning I saw a few small gaps, and added a few more words. As a finishing touch I may spray it with a clear coat.


I am really happy with how this turned out. So much so that I made two more...

Saturday, December 4, 2010

Mom's Christmas Cards

Here are 3 styles of the cards I made for my Mom this year.


Brown cardstock run through a Cuttlebug folder. The wreath is from Celebrate with Flourish. (I really like this new cart, thanks DH!)


Red cardstock - reindeer cut from Christmas Cheer. DH stickled the nose and glued on the hooves, antlers, and googly eyes. Added some ribbon at the bottom to finish it off.


Light blue cardstock ran through the Cuttlebug - Snowflake folder. The "Charlie Brown" tree is from Jolly Holidays. I stickled the ornaments and painted some Angel Wing Shimmerz on the snow at the base of the tree.

Friday, December 3, 2010

Christmas Card Holder

The idea/inspiration/credit for this idea came from here. Another blog full of amazing ideas.


My friend "Bear" in the metal shop at work fabricated the metal strips. I used Mod Podge(!) for the first time - and have to say "what have I been afraid of?" That stuff is awesome! I used Mod Podge to glue down the decorative paper and then another coat or two on top to seal them. I used 3M adhesive strips to mount them to the wall.


The magnets are homemade too! My wonderful DH went to HL and picked up large "marbles" and magnets (pack of 10 for $2.99-magnet strength 10) and adhesive M3000. Grab some scrap decorative paper. A dot of Mod Podge on the flat side of the marble and stick it to the paper. Once the paper dries, use your Exacto knife to trim around the marble (it doesn't have to be pretty). A coat on the other side of the paper to seal it. After that dries, put a dot of M3000 on the paper and stick the magnet to it. After it dries, you have a great, strong magnet. Word of advice - these magnets a re strong, so don't let them get too close to one another when drying. My magnets did travel off their designated spot on more than one occasion.


Thursday, December 2, 2010

ATG Giveaway

Check it out - a chance to win a free pink ATG gun. Thanks Joy!