Wednesday, March 16, 2011

St. Patrick's Day treats


Inspired by this post from Cheri & and this post from Kristan - I made St Patrick's Day treats.
I baked some dark chocolate brownies and my wonderful husband cut them out using a shamrock-shaped cookie cutter. Then we dipped them in melted green candy melts.
After putting them in the fridge to set-up, I put one each in a ziploc sandwich bag. I cut of the top and used Picnik to create this collage. (The images used are from Google images)

I also made a collage using pictures of the kids, but this one (and one more just like it) were for Jeff to give to the kids today when he sees them. Jeff's parent's will each receive one with images of the kids.

Super easy, cute project - both Cheri & Kristan's blogs have awesome instructions!

Sunday, March 13, 2011

St. Pat's cards

I was inspired by this post but added a little more to it. My wonderful sidekicks R & M lent me their fingers. R decided the little guys needed bodies - so viola!


Monday, February 28, 2011

St Pat's decorations


I cut out a bunch of shamrocks then ran them through different Cuttlebug folders. Next I punched a little hole in each of them, which I reinforced with an eyelet. I used some clear fishing line to hang some shamrocks from the ceiling fan, over the window, and from our mantle.


Before hanging them my husband helped me ink the edges - what a guy!


Saturday, February 26, 2011

Canvas subway art


I painted this canvas green and cut some shamrocks for another project (to be seen soon) and used the negatives to paint white shamrocks on top of the green background. While the white paint dried, I cut some St Patrick's Day themed-words in green vinyl. I applied them on top of the painted canvas. I haven't yet decided where it will hang, for now it sits on the window sill over the kitchen sink.

Thursday, February 10, 2011

Valentines Cards #4 & #5


Same image - 2 different coloring schemes (pinks & purples - made with a special girl in mind)
Used Copics
Paper: K&Company KP Valentine 12x12 Specialty Paper Pad
The pink card has a Recollections border punch and some pink satin ribbon
The purple card used some sparkly paper, so I added some $1 Target bin ribbon & bow

Wednesday, February 9, 2011

Valentine's Card #3


Another image from Paper Cupcake "I Heart You"
Colored with Copics
Paper: K&Company KP Valentine 12x12 Specialty Paper Pad
Ribbon is from the Target $1 bin
Stamped a heart on a punched circle and adorned it with a little rhinestone

Tuesday, February 8, 2011

Valentine's Card #2

Another Paper Cupcake's image "Tons of Love"

Colored with copics

Mounted on a scrap piece of red paper

Paper is K&Company KP Valentine 12x12 Specialty Paper Pad

Used a strip of scrap DCWV paper that I stamped some hearts in a box and added a piece of heart ribbon (from the $1 bin) on the right side

Monday, February 7, 2011

Valentine's Card


Image is from Nina over at Paper Cupcakes called "Think Love"

Colored with Copic markers

Cut out with Creative Memories circles, and mounted on a DCWV circle
Background paper is from K&Company KP Valentine 12x12 Specialty Paper Pad

Used a Martha Stewart border punch at the bottom of the card
Added a little Happy Valentine's Day punch from the $1 bin at Target

Wednesday, January 19, 2011

Giveaway

Check out this awesome giveaway. How handy a lil Scor-Buddy and all that ribbon and embellishments! I would love to win.

A Valentine's Project

A Valentine's treat bag inspired from Diane over at Capadia Design.
The base paper is from the K&Company KP Valentine stack.
Diane has the .cut file for this project on her blog, which uses the Doodlecharms cartridge - making it super easy!
The pink scalloped heart was cut on DCWV cs.
The white top heart was cut on white cs and run through my Cuttlebug using the Swiss Dots embossing folder.
I scored the base of the treat bag with my Scor-Pal at 5" & 6" - making the base so the treat bag can stand.
I used my ATG to assemble the layers.
Then a treat bag is filled with Dove dark chocolate for DH.
Stand the bag up, and carefully use a hole punch to punch 2 holes through all the layers..
Thread a ribbon through each hole and tie a cute bow (ribbon from the $1 bin at Target)
Viola, a sweet treat bag

I just noticed that the base layer in the photo is upside down, the other side is not upside down - so next time I will make sure that side faces front.

Sunday, January 16, 2011

Valentine's Wreath


Another ribbon wreath! Lots of ribbon tied around a wreath form. Simple but attractive door hanging. I went to Dollar Tree for a $1 wreath form. I picked the ribbon up at Hobby Lobby (50% off - yeah)!

I cut each strip of ribbon about 12" long. Then I tied each strip around the form. I push the ribbon strips close together so it gets really full. I fluffed it and hung it - viola!

Pink, red and hearts - and the door is ready for February 14th!
I linked this project up with My Pink Stamper's 1st Blog Hop - check out all the fun projects here!

Thursday, January 13, 2011

More time crafting

Part of my goal to post more will involve me designating time to craft (love those ulterior motives).
To that end I will also try to participate in more challenges, because there are deadlines and that will help push me to actually spend/schedule time to craft.

I really liked when I made at least one card a week for There's Magic in the Air. The challenge goes up on Monday through Sunday. This week's challenge is to make a thank you card and actually send it. I am a big believer in thank you cards, you don't use a present until the card is written and stamped. So unfortunately, I already sent out cards, and didn't hand make a one. I did make a quick card for the mailman so I could participate in the challenge. Technically I did not mail it, but I am thanking the mailman for all his recent efforts in delivering packages.


Nina has tons of cute digi images, that are great for cards in her store. I did not use one for this card - but I will use some for some upcoming Valentine's cards.


Wednesday, January 12, 2011

Giveaway

Check out this awesome giveaway! Love the necklaces, especially the hearstrings necklace.

Happy New Year!

Happy New Year! I am a little late in posting that, but the sentiment is genuine.
I am going to work harder to keep my blog up to date.
To that end, I would like to share 2 of my newest purchases.
Yesterday I purchased the Gypsy for $50. I had no inclination to own a Gypsy, but for the price, how could I turn it down? Thanks Mom & Dad, I used my birthday money ;)
I originally did not plan on investing in a Gypsy, because while I love my Cricut I don't really use it to create lay-out's. I cut images and words, and I have found SCAL to have many more options. But I am going to work really hard to read about the Gypsy this week, and maybe dazzle myself.
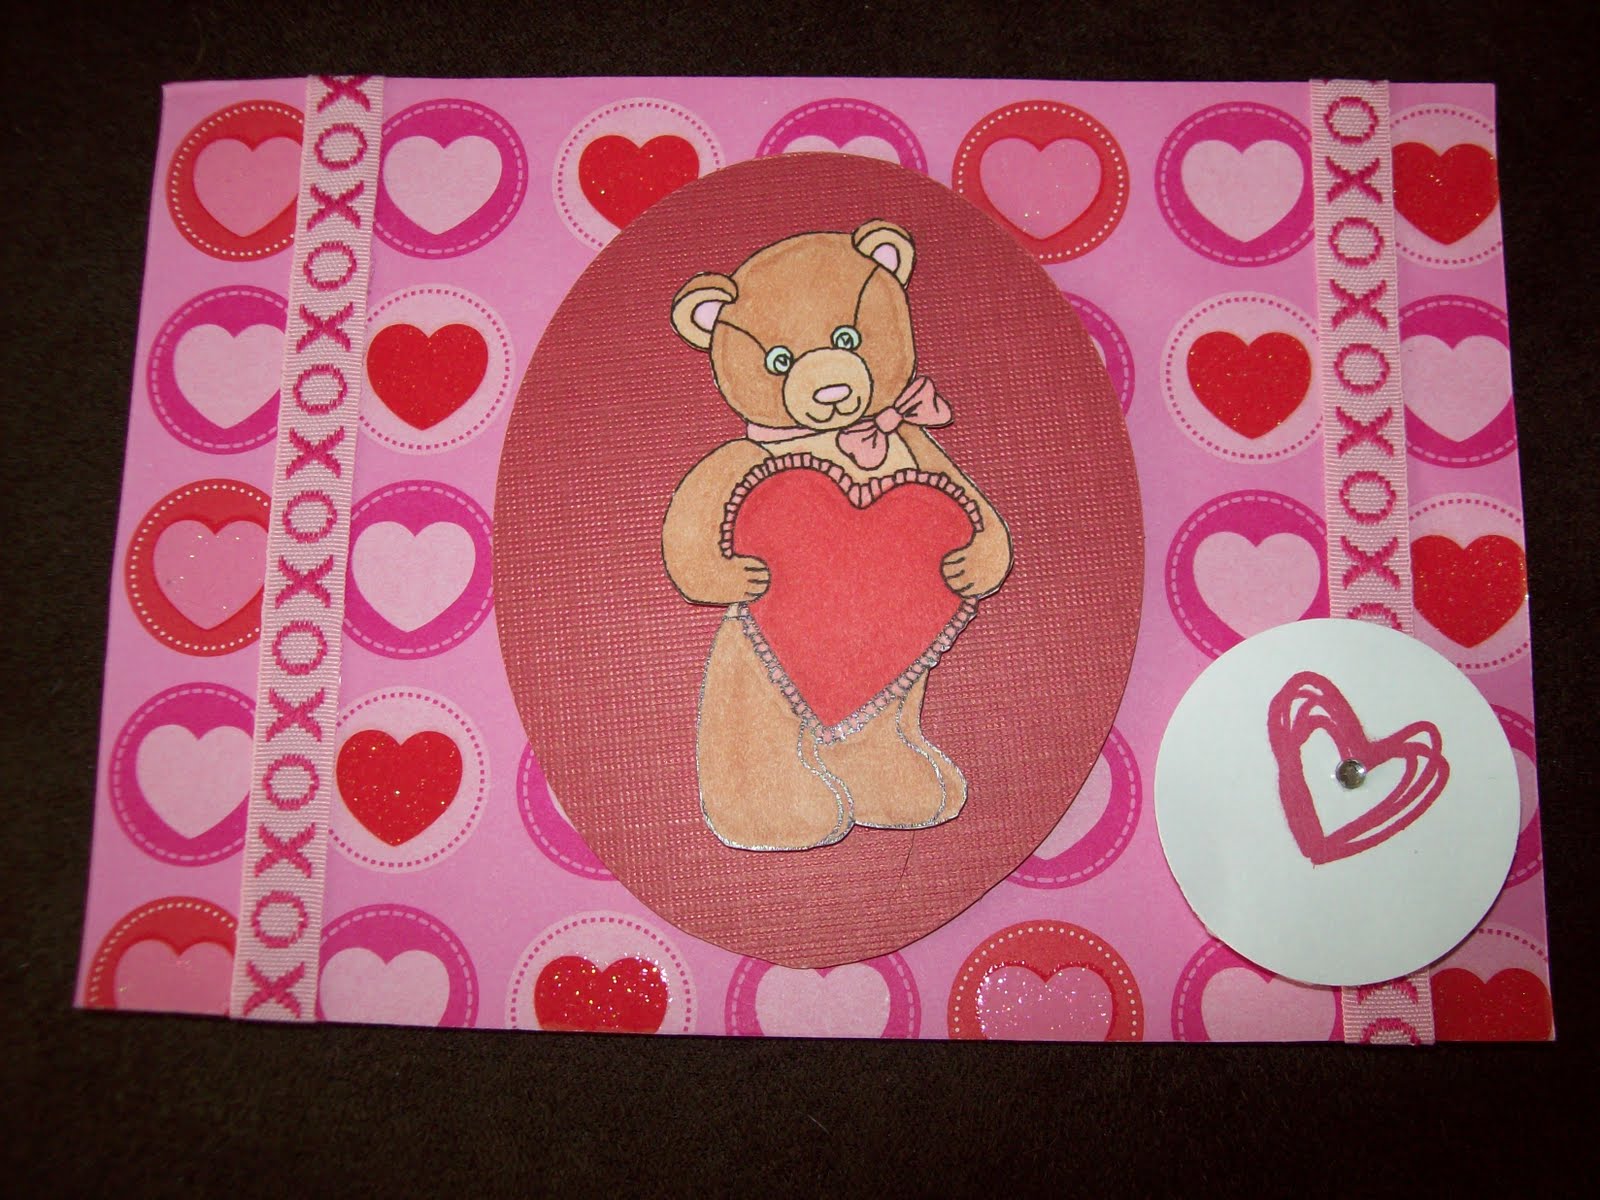
My other big purchase was some Papertrey stamps. I previously mentioned that I am not a big stamper, I find it messy and I smear ink, and I am never patient enough to let the ink dry. I use digi stamps, which I love. I used some Staz-On ink, and I realized that the quality and type of ink used really make a difference (duh I know, but there I haven't come across Stamping for Dummies).
Recently I saw a card over here, and I loved how she uses stamped sentiments. So I hopped over to Papertrey and saw tons of fun stuff. Since I had some success with Staz-On ink, I decided to take the plunge. I picked out 5 sets of stamps and will be playing with those in the coming days.
For Christmas Jeff bought me some Staz-On ink pads so I hope I will be successful.
Tonight I should be back to show off the cute snowman clothes pins the kids made.